FISH FARMING IN KENYA – EUNIDRIP IRRIGATION
Fish farming in Kenya involves rearing fish in tanks or enclosures for human consumption. It is an upcoming agricultural industry that keeps…
Read ArticleFish farming in Kenya involves rearing fish in tanks or enclosures for human consumption. It is an upcoming agricultural industry that keeps…
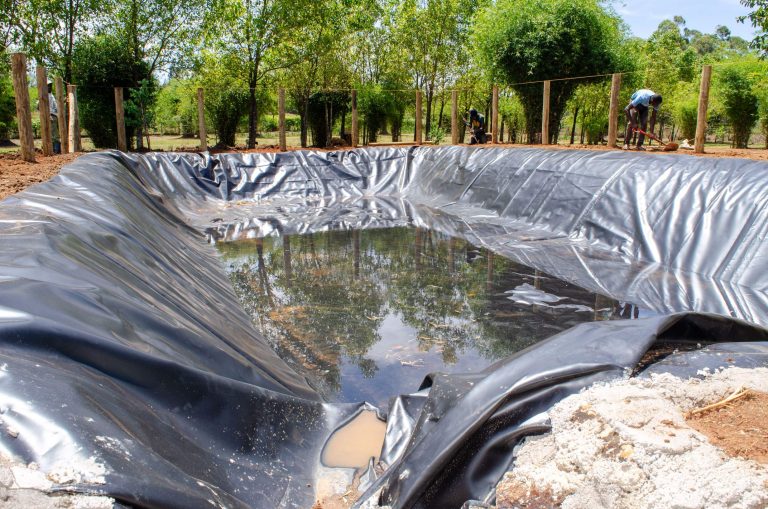
Read ArticleEunidrip Irrigation Systems is a leading supplier of dam liners for sale in Kenya, providing high-quality and durable solutions for water conservation…
Read ArticlePawpaws are nutritious fruits rich in vitamins that do well in areas receiving an average rainfall of about 1000 mm per…
Read ArticleEunidrip Irrigation Systems is among the best suppliers of onion drip irrigation kit in the Kenya. Onions are crops that are sensitive to…
Read ArticleRain hose irrigation uses a flexible hose with small holes to deliver water to your crops. The pipe is UV treated…
Read ArticleBirds can be a nuisance to your crops on the farm, or in your home. Eunidrip irrigation systems bird nets are affordable…
Read ArticleGreenhouses are structures that help farmers control the growing environment of the crops. These structures can either be made from wood, plastic,…
Read ArticleTomatoes demand lots of water to achieve maximum yield, and drip irrigation is the best way to supply the required amounts. Eunidrip…
Read ArticleHOW TO GROW STRAWBERRIES IN A GREENHOUSE Strawberries are bright red, sweet, and juicy fruits grown for direct consumption or addition to…
Read ArticleIrrigation is the best way to ensure continuous food production with an ever-increasing population. However, when designing large irrigation schemes like a…
Read Article